My Chucks of two years finally died. Being a rather crappily made shoes of rubber and canvas, I was proud of them for lasting as long as they did. Since winter was in fully swing and there is all that much else to do around the farmstead, I figured I'd try my luck at making a pair of DIY Chucks. There is much of anything helpful on the internet about making shoes and this is probably more exciting than a bunch of pictures of snow. So I present to you my DIY Chuck Picventure:
 Starting with a used tire, cut both sidewalls off. if you find a big enough tire you can use the sidewalls as the soles and save your self a lot of trouble dealing with the steal in radial tires. Another option is to find a pre-radial tire.

 I found that the easiest way to cut through the tread is to use a good pair of tin snips. Power tools tend to make a lot of toxic smoke. after you have foot length pieces trace your sole on to the inside. you want it only slightly bigger than your feet. Use the tin snips again to cut out the shape, it help if you have a sturdy spot to clamp the tire to. clean up the cut sides with a dremel or a metal blade on a circular saw as there are a lot of little point wire sticking out, or leave them if self defence is a concern.
On to the Uppers:
 I basically just took one of my chucks apart and used that as a guide. but there's a lot of room to be creative here... if you've got more than one pair of shoes to wear.
 Traced on paper and added 3/4" to all sides so that there is material to sew on the the sole and for the grommets to grip.
 Canvas, just like chucks!

Basically just a case of folding and sewing and matching it up to see if its the same size...
 This is a good illustration of just how much of the old chick had worn away.
 Sew the three pieces together and then the back and you have a completed upper....

This is a good time to see if is its going to fit and make any changes.

between bad lighting and getting wrapped up in project completion I don't have too many more pictures...
So, using a fairly large gauge needle, a pair of pliers, and some good quality string (I used a thick linen string) coated in beeswax, start sewing the upper to the sole. make sure you sew all of the toe on first because it's hard to get in there if everything else is done. I sewed from the top at a 45 angle so that the thread exited the side of the sole, and then up and through the canvas.
I glued a piece of canvas down to the sole to make everything look clean.
and added grommets from the fabric store
and finished with the requisite old school "ladder" lacing...


 Volunteer Tomato patch: one more gift from last years pigs


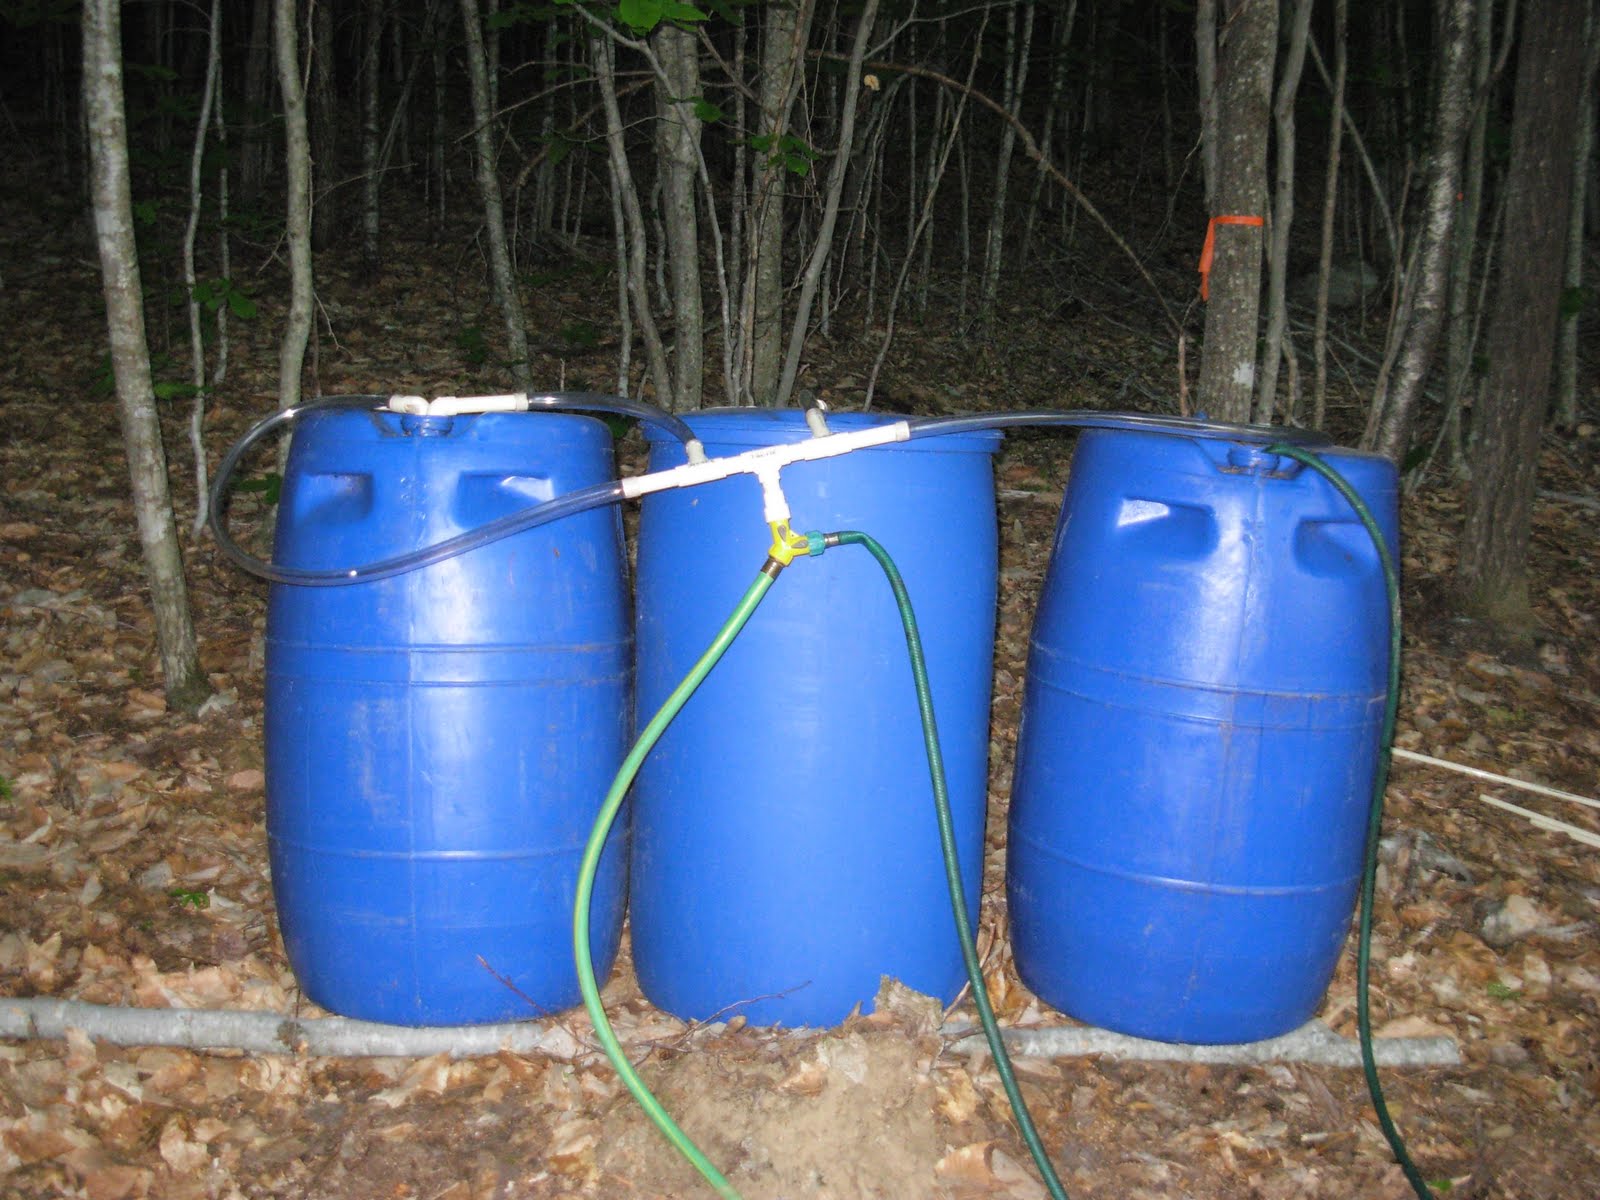
 This contraption makes the individual barrels act as if they were one giant 200 gal barrel, because it draws from or fills all four simultaneously